Learning e-textiles at Imperial College
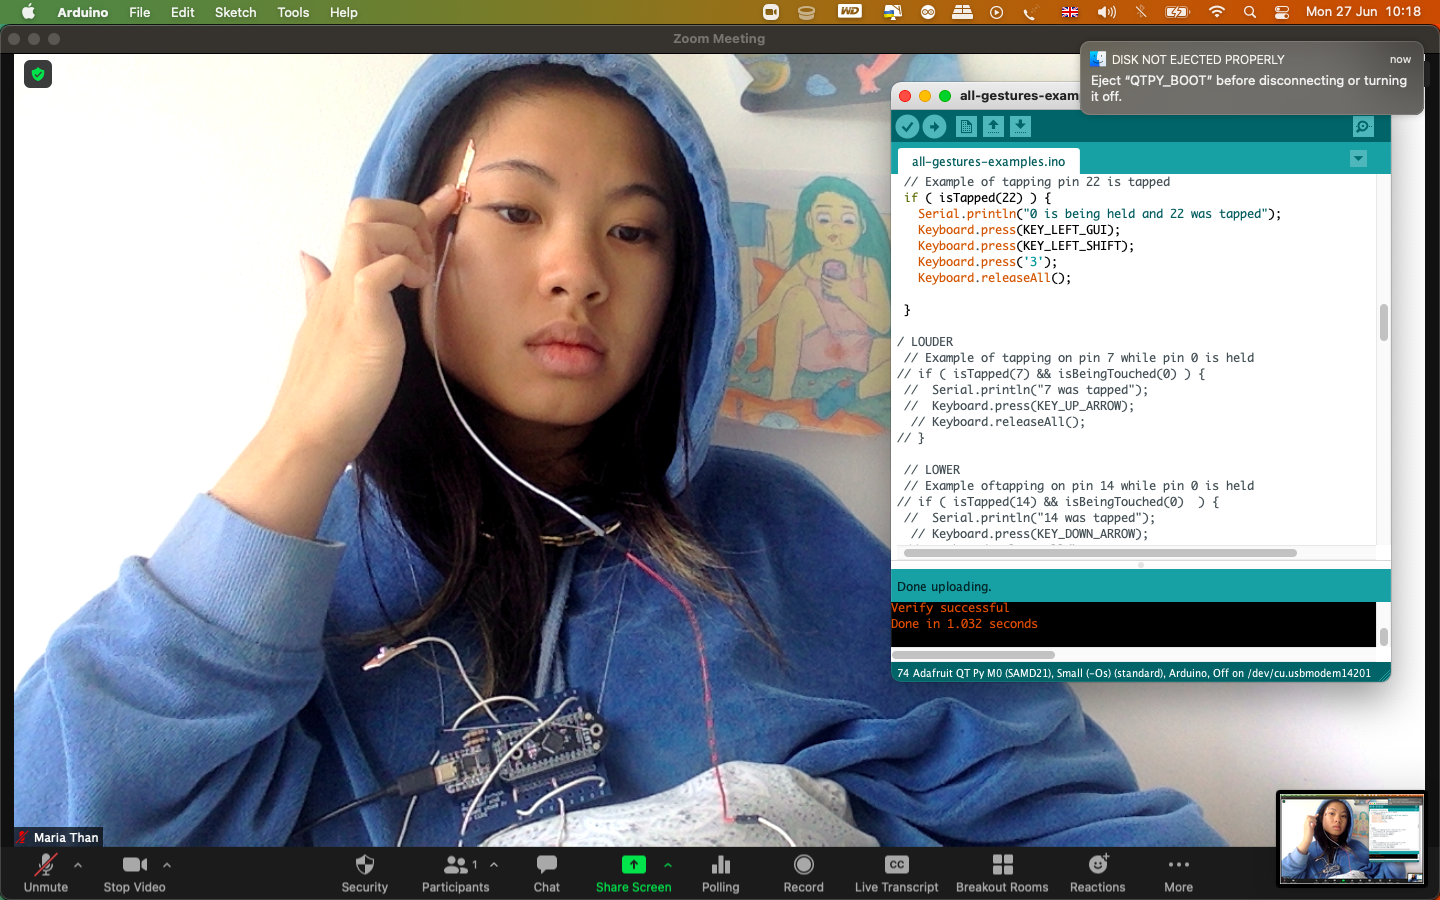
Screenshot of experiment with QT Py board where you can screenshot an image by tapping your forehead
Disclaimer: I am not an expert on any of the topics I shall discuss below, I am just curious and I like to experiment + learn. I’m using this platform to log my thoughts, ideas and whatever else comes to mind. Please take what I write with a pinch of salt, and always do your own research. I am not a very good writer either, so be prepared to be reading a lot of fluff.
Anything I write that might be wrong, please do correct me but be polite about it, thank you!
Date: Monday 27/06/22
On Saturday 25th June 2022 I joined an e-textiles workshop as a participant, it was hosted by Dr Rebecca Stewart, Lecturer at the Dyson School of Design Engineering, it was located in the Dyson Building on the South Kensington Campus of Imperial College London.
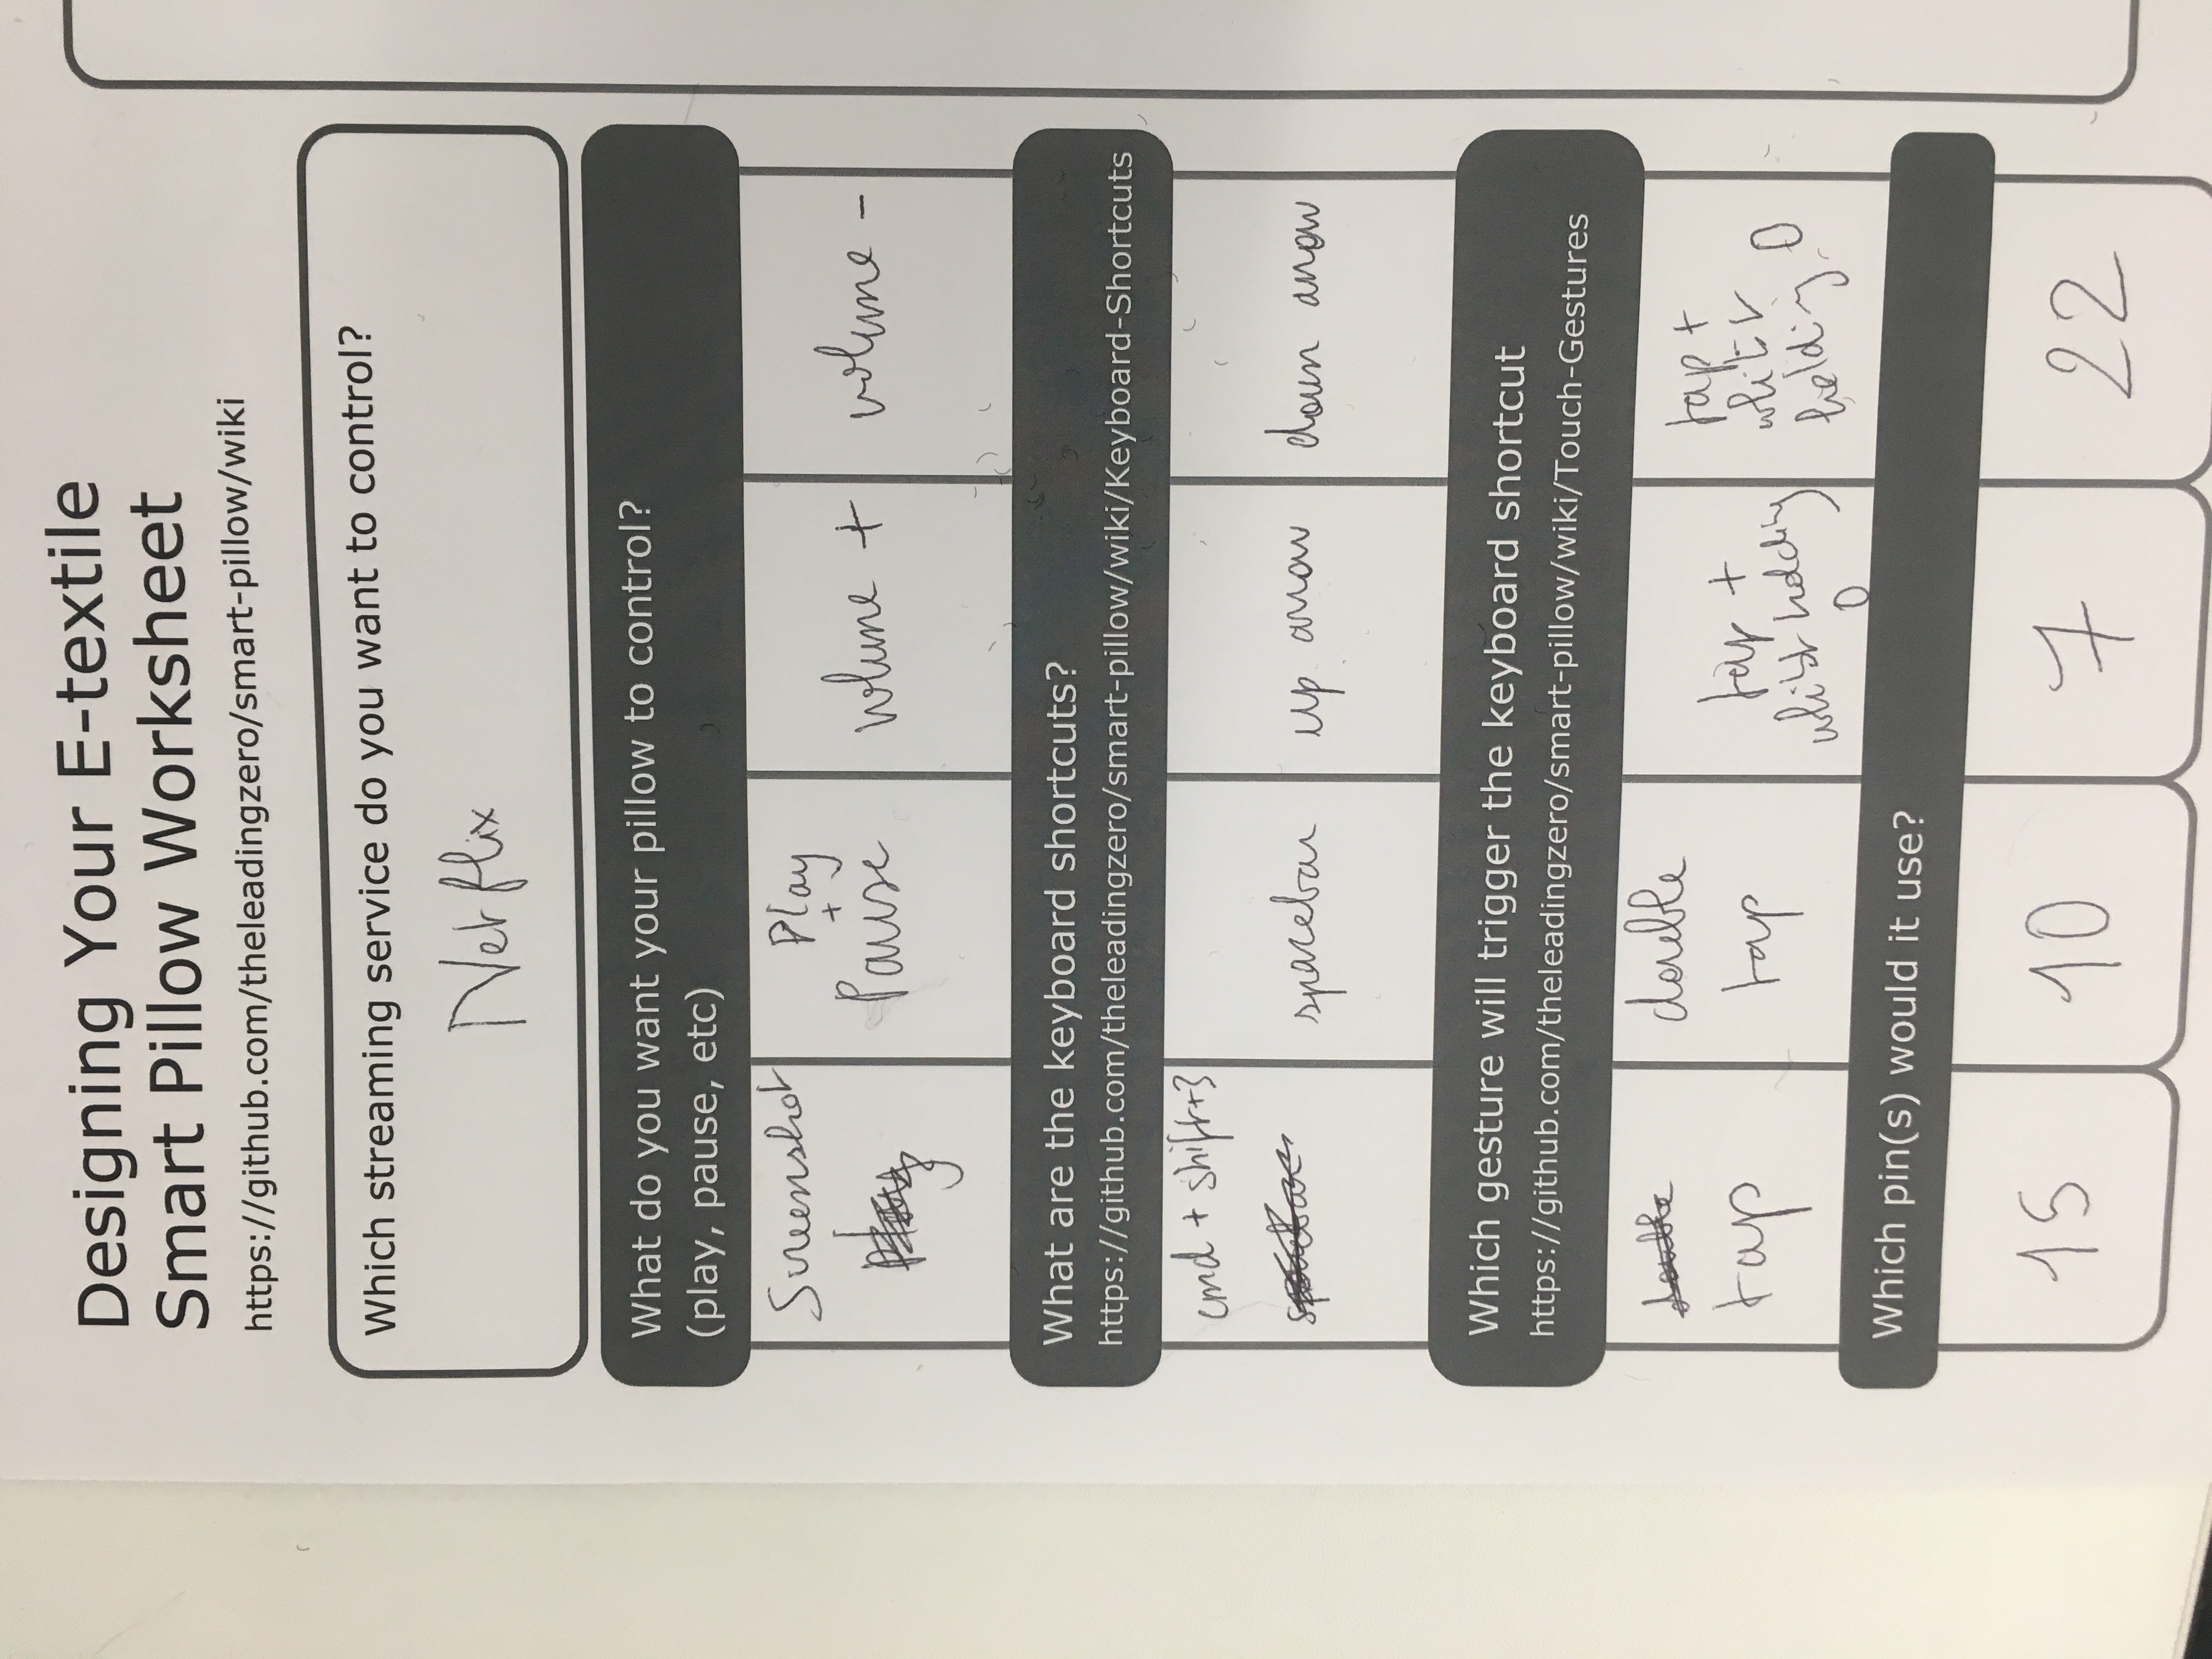
The workshop goal was to build an e-textile smart pillow which can control streaming services like Spotify or Netflix. The pillow connects to a computer using a USB cable. An example of what can be built can be viewed here

As stated on the Github, this is how it worked:
In more technical detail, an Arduino-compatible board made by Adafruit called a QT Py is connected over I2C to a capacitive touch breakout board called a Trill Craft made by Bela. The QT Py appears as a HID keyboard when connected via USB to a computer. By editing the code, you can associate different touch gestures detected by the capacitive touch board with different keystrokes.
A custom PCB design is available to make connecting the two boards easier. It also features mechanical strain relief for wire connections to the e-textile touch-sensitive electrodes.
At the start of the workshop, we were given:
- a QT Py board by Adafruit (Arduino compatible)
- I2C capactive touch breakout board called Trill Craft by Bela
- an A3 sheet to plan out our pillow, touch gestures, keys and the placement of our board
- Conductive patches and finally,
- Fabric, textiles, scissors and fabric felt
We were basically designing a USB keyboard, and although Dr Stewart stated that a wireless keyboard would have been cooler, it would’ve taken much more time to debug if we encountered issues, and since it was a day workshop, we stuck to a USB keyboard.
Setting up arduino keyboard
Before we started making, we first had to plan out:
- Touch Gestures
- Specific keyboard keys
- Arduino keys as referred to here
FIRST we did a test of trill: craft-print.ino
SECOND we did a test of: print-test-example.ino
THIRD we did a test of: all-gestures-example.ino
From there we ensured that all of our libraries ect were downloaded properly.
Touch Gestures - what are they?
TOUCH - A touch is when a sensor goes about a touch threshold. It will trigger multiple messages for as long as the touch is occurring. > SENDS IT OVER AND OVER
TIMED TOUCH - A timed touch message is triggered only once, right after the sensor has been touched for the time limit.
TAP - A tap is when a sensor is touched for a minimum amount of time and is then released. A message is sent only once when the touch stops happening, now matter how long the touch was held.
DOUBLE TAP - Two quick taps on the same electrode. A message will be sent only once after the second tap is finished.
Final interaction design
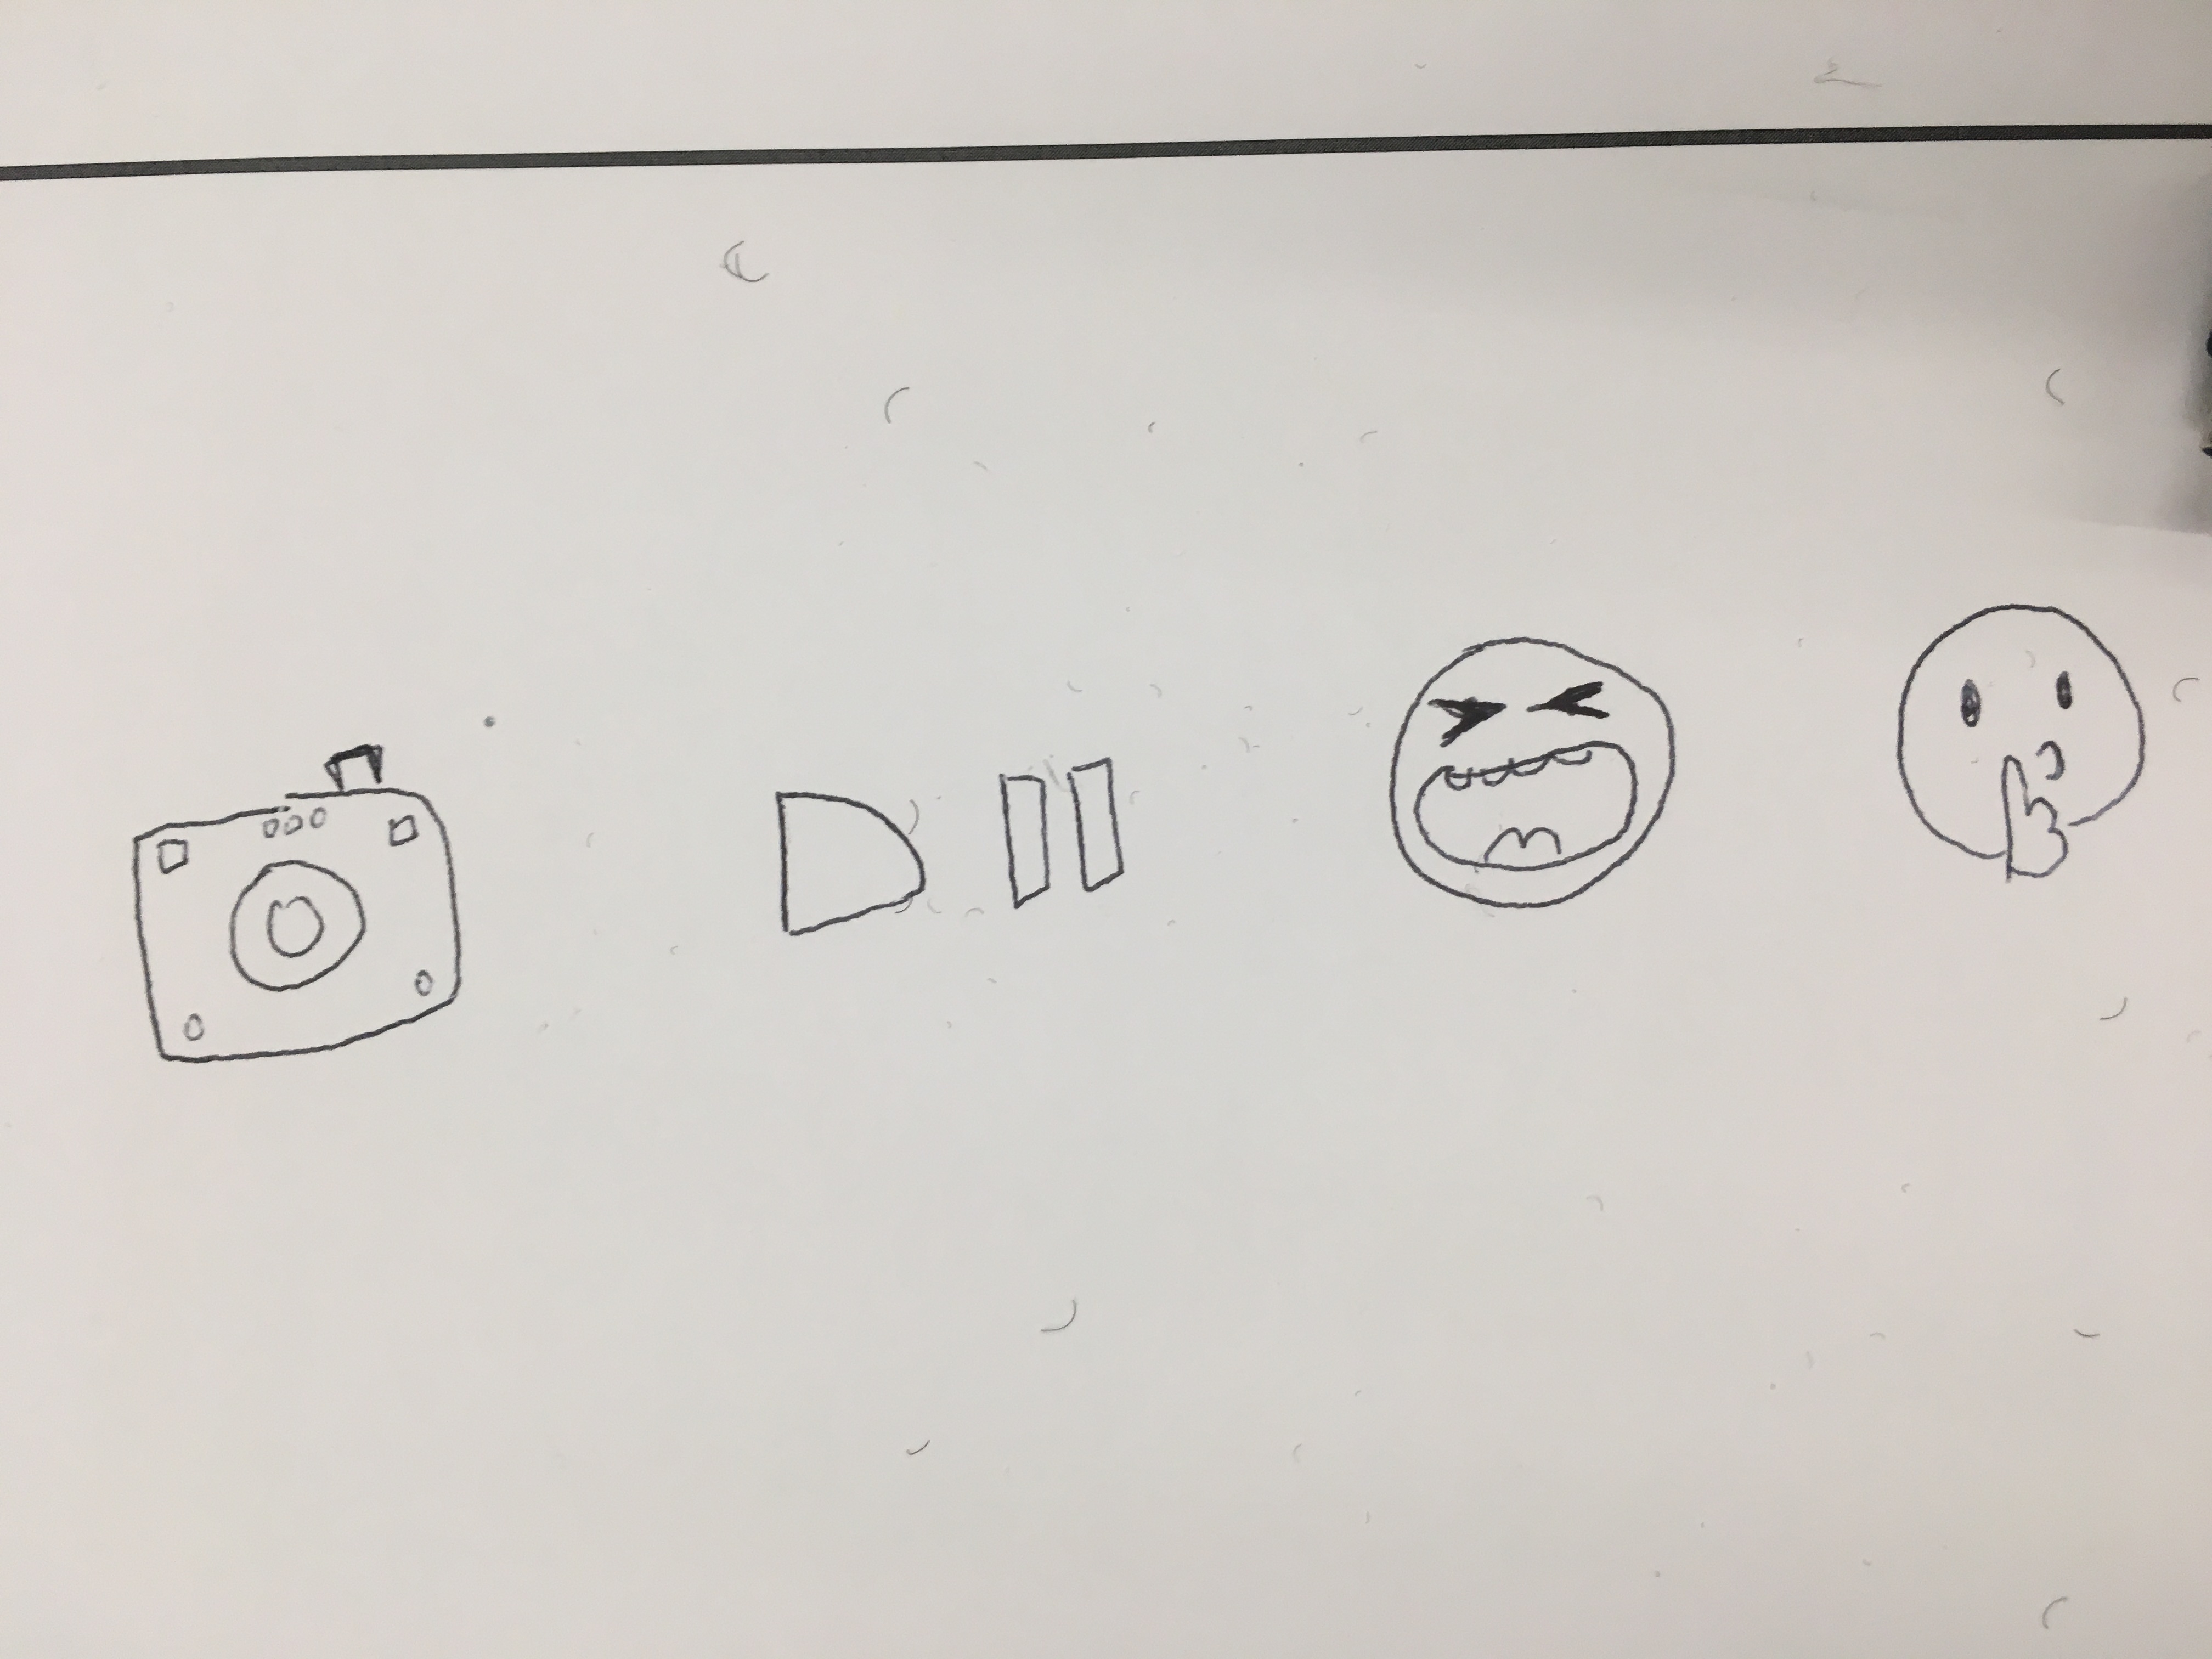
So I decided on four actions:
😆 - Louder volume
🤫 - Lower volume
⏯ - Pause / Play
📸 - Screenshot
For Louder and Lower volume, I coded a simple ‘tap’ + hold ‘0’ pin for each so that it is easier to augment and decrease volume without any accidental touching. Key: Up arrow, down arrow and 0
For Pause/Play, I coded it so you had to ‘double tap’, to avoid accidental touches again. Key: spacebar
For Screenshot, it was slightly more complex than the other actions as it required three keys at the same time: Shift + cmd + 3 but turns out I could just add three keys at the same time lol so that was fine. Here is the final code from the all_gestures_examples.ino.
The reason I added screenshot was because when watching Netflix, one of my favourite activities is to screenshot funny quotes and scenes, but everytime I move the cursor it triggers the playing controls. By having a screenshot feature through touch, it made it immediate and easier to do.
Sewing and stitching
Original icons lol

After I set up the board, I had to design our actual pillow. I wanted to have a long rectanguar shaped like a remote control and have four icons for four actions:
😆 - Louder volume
🤫 - Lower volume
⏯ - Pause / Play
📸 - Screenshot
We had to ensure that there was enough space between each icon that the conductive patches didn’t touch each other and were large enough. Once we set up the patches, we had to set up the wires and Dr Stewart then soldered the wires for us.
Even though I had experience with Arduino, I had no idea how to sew or stitch. Thankfully, I became friends with a participant, Rayven, who was a student at MA Graphics at Kingston University, as I helped her with the Arduino setup, she helped me stitch and sew my pillow. Unfortunately I burned part of my neoprene when I used the heat transfer glue, and since the workshop ended up being 70% stitching and sewing, I had to learn the basics quite quickly and unfortunately I didn’t end up finishing my pillow.
Extra: connecting it to Processing
You could also connect Arduino to Processing to trigger a visualiser, which I did. I had to download an extra Trill library on Processing first, and then played around with it. It was pretty cool and i’d love to edit the code to have more interesting visuals and shaders!
After the workshop, I went home and continued experimenting with the board since we were given it after the session ended. So I wanted to see if you could connect the board to a simple wire and then attach the wire to some copper tape and tape it to your forehead, to trigger a screenshot using your temple.
It worked lol
NEXT TIME:
- I want to make a punch pillow / smash my face in a pillow to triggers words + audio on screen using Processing + Arduino (potentially map out features of the face?) like this ?